
|
Getting the insulation done was probably the most excited Matt and I have been since buying the bus. It's a big step to get this part done because now we can start framing and making it look like a real place to live! 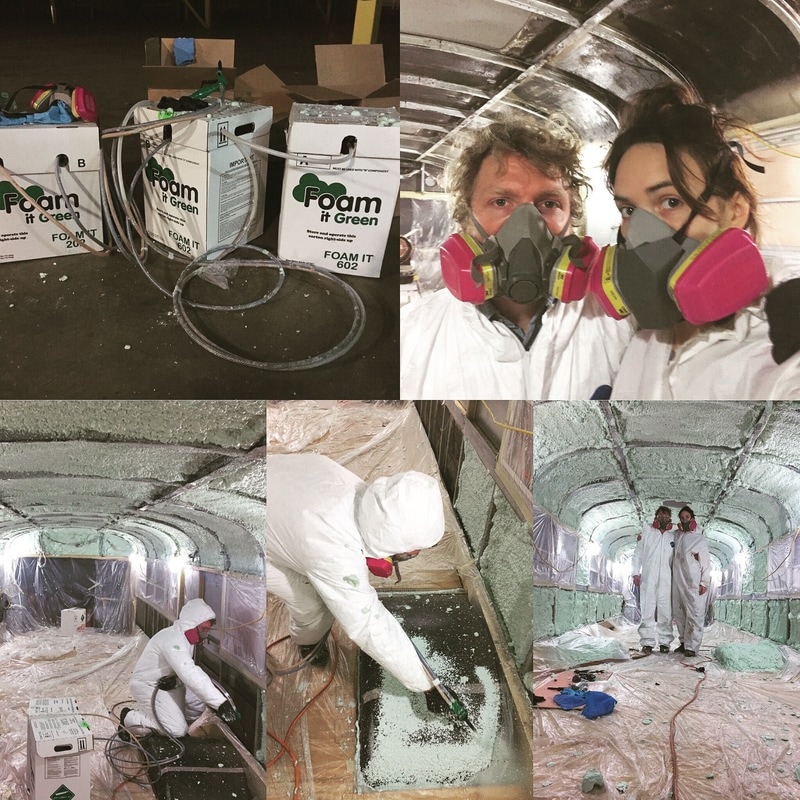 To prep for insulation, we covered any exposed wires, windows, floors, and dash with painter's plastic and used a grinder with a wire brush wheel to remove the remaining fiberglass insulation that was glued to the panels. We did this so the spray foam would have a nice clean surface to bond to. We went with Foam It Green for the insulation. There are several other spray foam companies out there to choose from but for the price and the additional items they sent with the tanks and their good track record, we decided on Foam It Green. The tanks we got were the 602 closed cell fast rise formula which covers approximately 600 square feet. We also had a 202 kit that we had left over from another job that we used to fill in any low spots once the other tanks were used up. The process is fairly simple, although there are some things that can make it a lot more efficient. First off, our bus is stored in a warehouse which is climate controlled up to 45 degrees so we had to run a salamander in our bus for an hour to get the metal within the temperature range recommend by the manufacture (65F-85F). When the metal was at the appropriate temperature, we suited up with full body Tyvek suits, respirators, gloves, and eye protection. Once we unboxed the equipment, we shook each A&B tank for 60 seconds then attached the lines to the valves and clipped the spray nozzle onto the gun. Since we weren't sure if we would cover the entire space with the 602 tanks, we started on the ceiling and head walls. This way, if we ran out, it would be easier to insulate the wall cavities with foam board opposed to the curved ceiling or head walls at each end of the bus. While Matt sprayed the foam, I helped by moving the tanks down the line as he moved and also shook each tank periodically throughout the process which is supposed to help get the most out of the tanks. I also kept an eye out for low spots and gave him new nozzles when they needed replaced. When the 602 tanks were out we hooked up the 202 tanks and went over the entire bus and thickened foam where we desired. The 202 tanks we got had been sitting in a shop for a couple years and about 3/4 of the way through the tanks the mixture started getting inconstant so we stopped there. Our bus measures 26 feet from the rear to the passenger seat and we ended up having more then enough in the 602 tanks to cover 1" throughout our bus. Since we had the extra 202 tanks, we figured we would use them for any extra spots. This process could be done with one person but definately much easier with two people and it only took us just over and hour to spray from start to finish. The next day, Matt went to the bus and use a 26" hand saw and an Irwin 213104 Pull Saw Dovetail for the smaller, hard to reach areas. This only took an hour since he was diligent during application so there wasn't a ton of over spray. Overall, we really happy with the results and are excited so start framing soon. 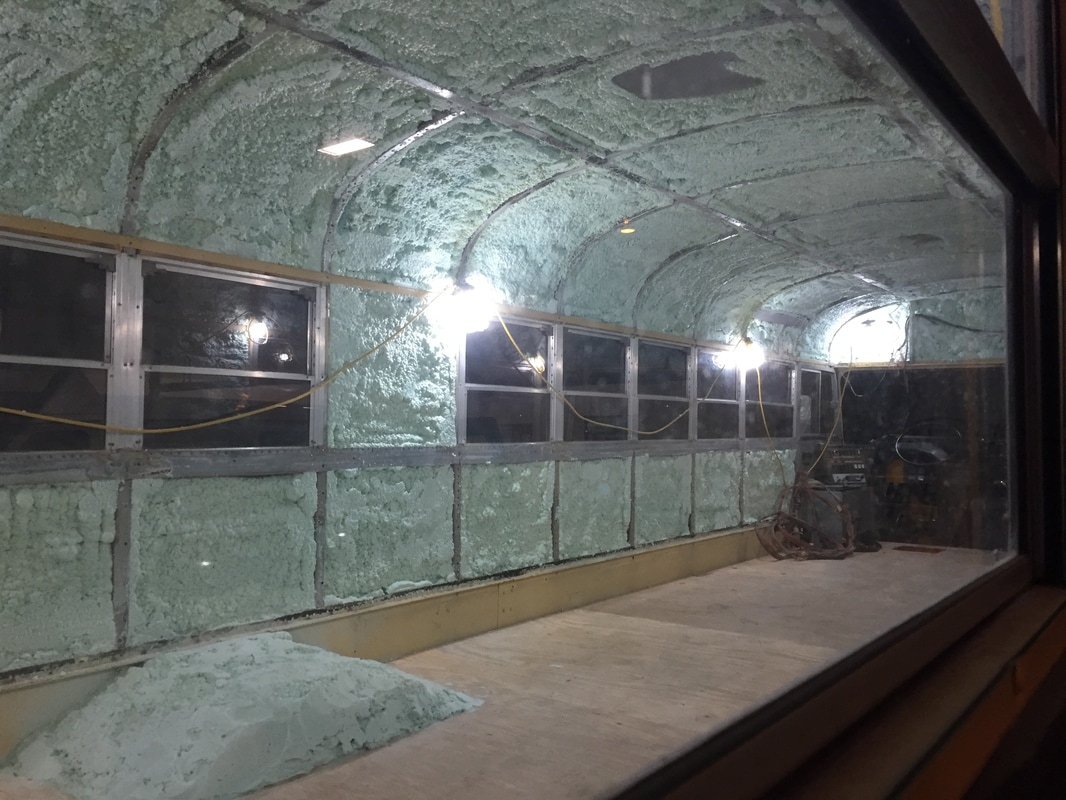 Benefits of spray foam:
2 Comments
|
AuthorHey everyone! Archives
September 2018
Categories
All
|
 RSS Feed
