
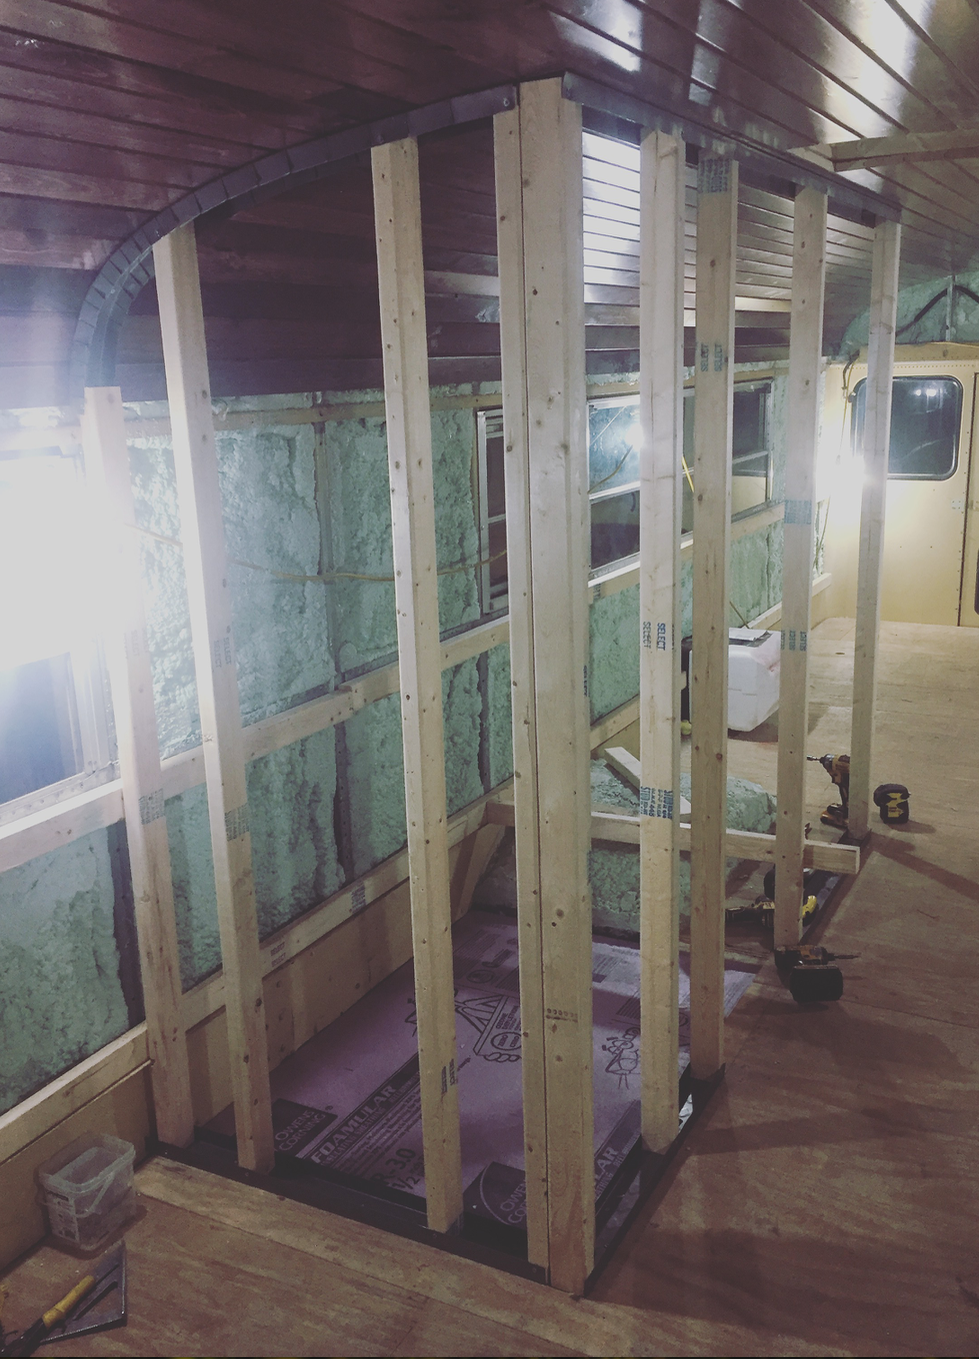
 Just before we were ready to frame in the bathroom, we realized that we really had to decide what kind of flooring we wanted to do, because head space was getting a little tight, plus we wanted the floor transition to be smooth. Our options were either tile, a shower pan, or a slatted wood platform with a hidden tray underneath to drain. We ended up deciding that we wanted to go with tile, because we liked the look of that the most and still gave us plenty of head room. More details on tile and materials later. We came to the conclusion that in order to ensure a smooth floor transition from room to room, we were going to have to take out some of the subfloor we had already put down and redo the insulation and subfloor for that area... ugh! We replaced the 1.5" foam with 1/2" foam, then 1/2" plywood so our tile would be flush with the other floor- a curbless shower!
So after we figured that out, we framed the bathroom using 2 5/8" metal track and 2x3 wood studs. Using the metal track made it easy to attach our studs to the ceiling following the curve. Using tin snips and making cuts on both side of the track allowed us bend the track. Matt has used metal track in commercial framing for years so it just made since to go this route. We used 2" self tapping screws to fasten the top track to the ribs of the bus giving it more structural integrity vs just screwing into the pine ceiling.
0 Comments
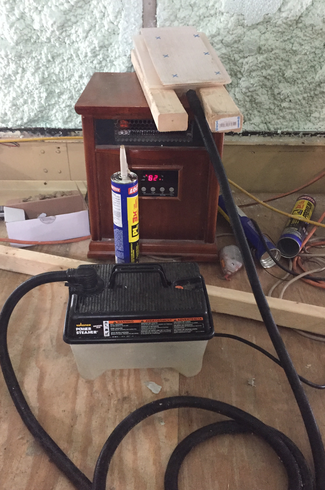
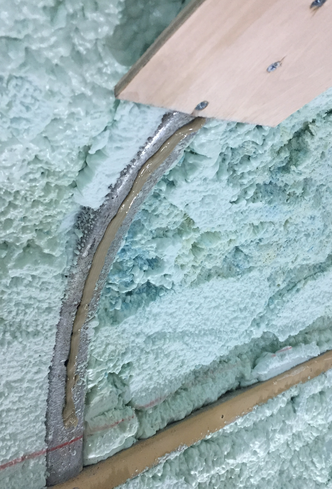
 It all looks fairly easy doesn't it? Well, there were some things to figure out before actually putting that beautiful ceiling up. How are we going to actually attach these boards to the frame of the bus? The ribs on the ceiling are only a 1.5" wide, and there are holes every inch from removing the rivets. We knew we didn't want to use self taping screws leaving the screw heads visible every 2" and wood filling the holes would of worked fine if we painted the ceiling but not so much for our stained pine. So to attach the tongue and groove boards traditionally we needed a wood surface with no metal behind it. So we took 1/4" plywood, ripped it down to 6" strips and centered them on the ribs giving us an overhang on each side where we could shoot finish nails without hitting any metal(structual ribs). The tighter curves above the windows were a bit tricky because the plywood couldn't make those tight curves without snapping. So we borrowed my mom's old wallpaper steamer and steamed them for a couple mins each to make that tight bend. The alternative would of been to make a steam box but for these short pieces the wallpaper steamer worked perfect. I would press them into place with a good layer of PL 3X Construction Adhesive as Matt screwed them to the ribs (screws about an inch apart) starting at the top and slowly working to the bottom. Worked out great! There is a flexible plywood product that would have worked without all the steaming, but it's twice as expensive- about $28 per sheet. We went the cheaper route, but glad to save where we can!
Another big thing we had to think about before we actually shot those boards up was making sure to run any electrical needed in the ceiling, which in our case was the AC unit, Fantastic Fan, and some lighting. Most of our wires will be ran behind the walls, but these few spots had to be accounted for. 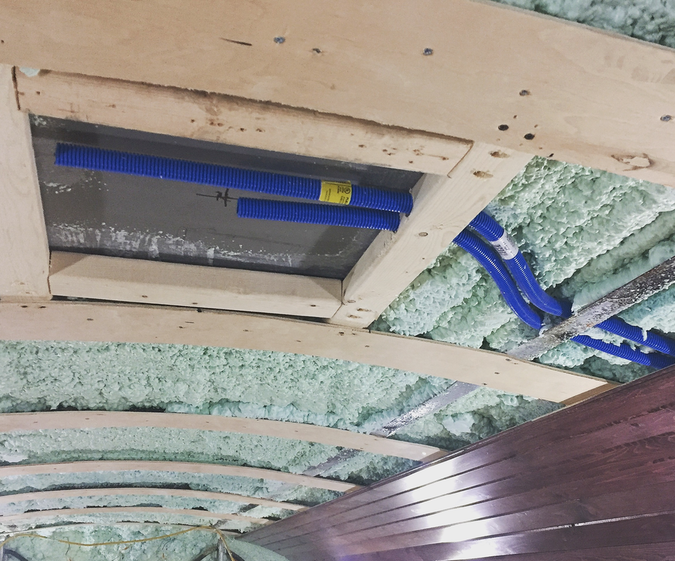 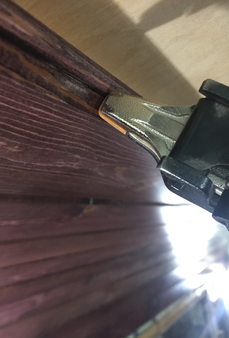 To fasten the pine boards to the furring strips, we used more PL 3X Construction Adhesive, and Grip-Rite 15 gauge finish nails, shooting into the groove of the tongue, to ensure a more finished look. We of course carefully selected which boards we wanted where... the most attractive ones went above our bed so we can look at them while we lay down! Some were the full 12 foot length, and some were cut down just to create more variation. We also took into account where the bathroom would be and kept all seams/end grains out of that area to prevent moisture making its way into the end grains of the pine. So much thinking ahead!
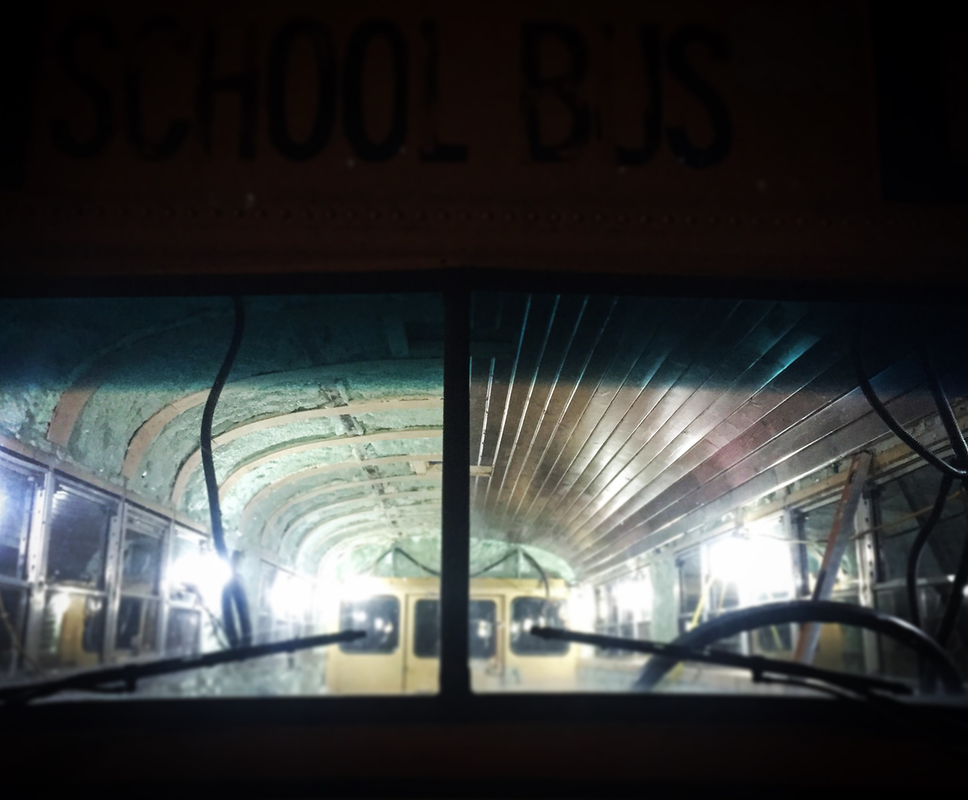
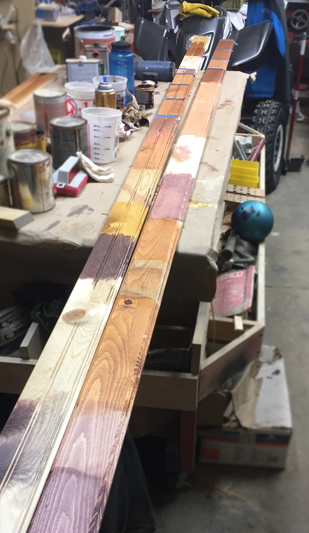
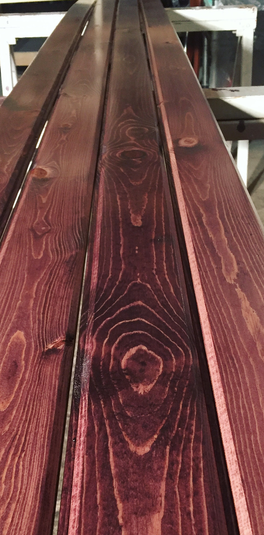
Wow. It has been a long time since our last post. Honestly, once we got the spray foam up, we started bookin' it and it seemed like there was no time to keep up with the blog! Tonight, though, we are taking the night off to research and catch up on a few other things, so I'm going to take a little time now to update everyone a little bit on what's new! Every step of this conversion has been more and more exciting, but this is one of the big ones. WE GOT THE CEILING DONE! We knew from the moment that we got the bus, that we wanted a wood ceiling. We did question from time to time if it would be bright enough in the bus with a wood ceiling- we thought for just a moment if we put the white panels back up, it would definitely be nice and bright (and a lot less work), but it didn't take long for us to just say, "Nope, we want the wood ceiling." So we did it and oh my gosh, it is the most beautiful ceiling I've ever seen. 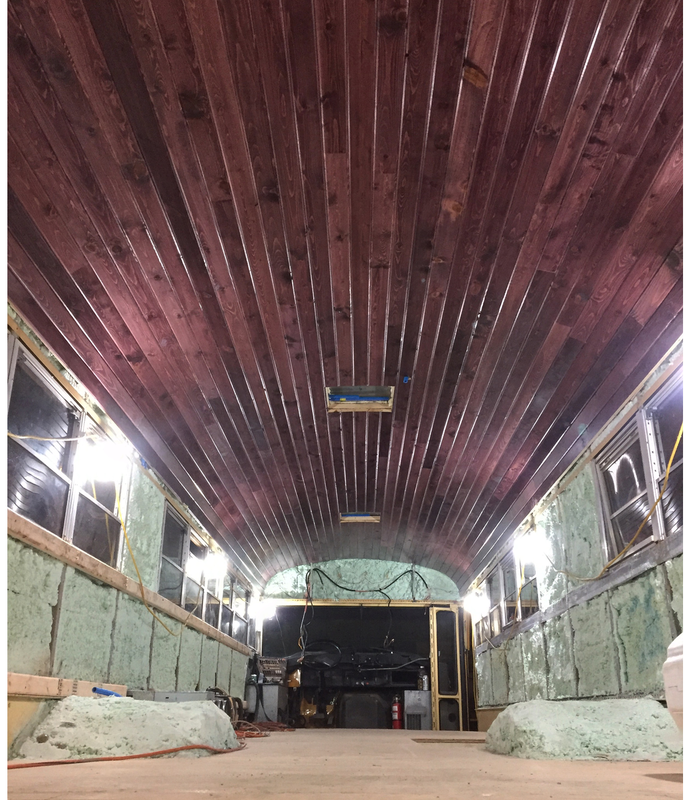 It took us some time to decide what type of wood we wanted. We went back and forth between pine and cedar. Absolutely loved the look of a natural cedar but couldn't justify spending the money, so we went with pine. We bought 12 foot long 1" x 4" unfinished pine bead board and sanded and stained each board in black cherry. It took us probably two days to decide what stain color we wanted and it's funny that we ended up choosing the black cherry because it started out as a joke actually. It had a pinkish-purple color to it that looked really weird at first, but there was just something about it that we liked, and it was something different.
After carefully sanding the boards, we put a coat of shellac on them to avoid a splotchy stain (apparently this is especially common with pine). Once the shellac was dry, we applied a single coat of the black cherry stain with a rag. Finally, we put two coats of polyurethane to seal it. The whole process, from sanding to sealing took us 4 long nights. We luckily have a friend who was nice enough to let us use his shop and sprayer. Thanks Reed! 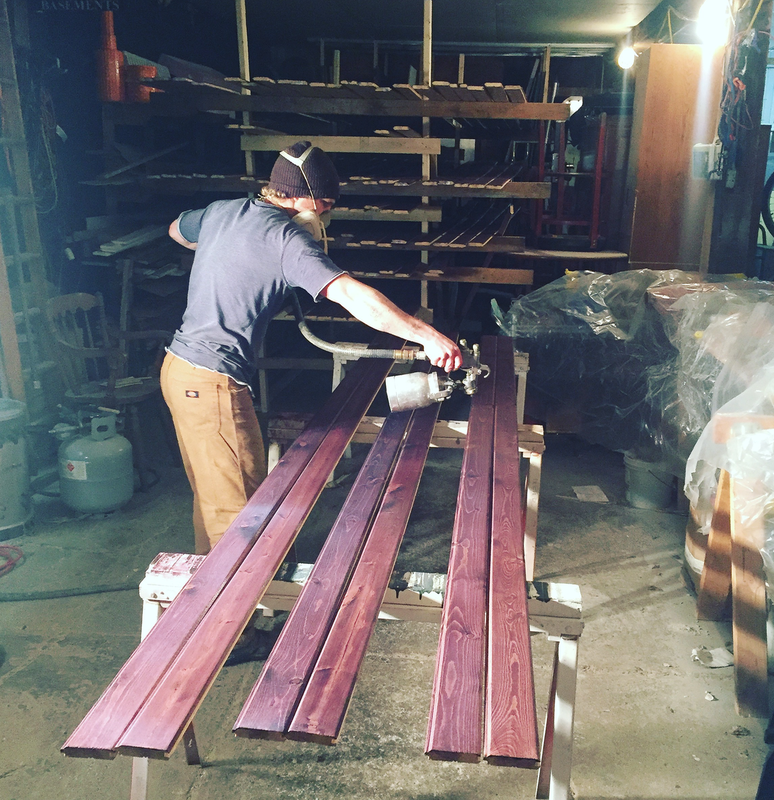 |
AuthorHey everyone! Archives
September 2018
Categories
All
|
 RSS Feed
