
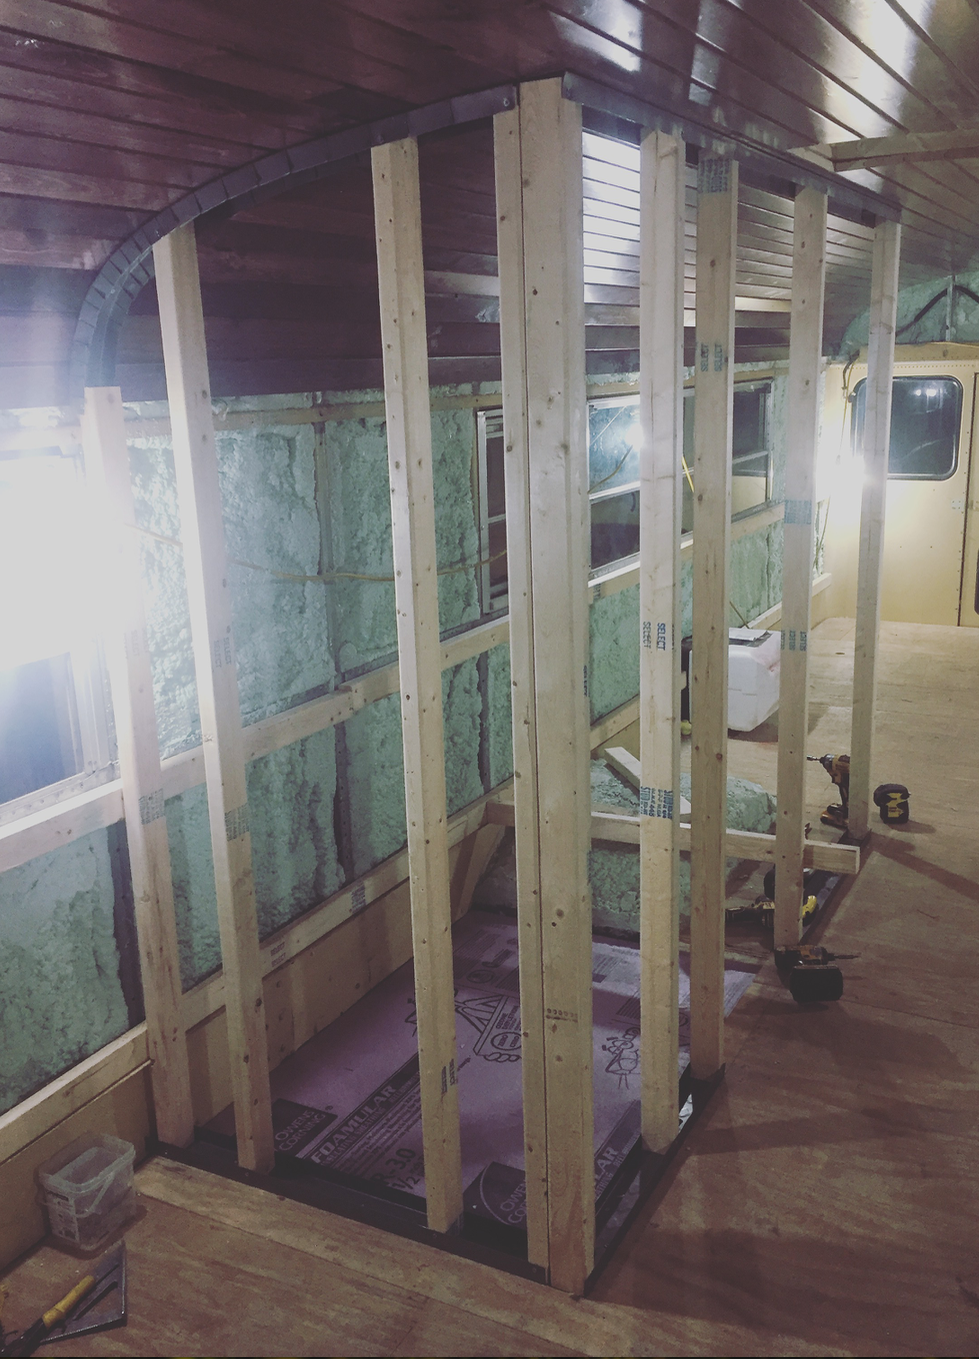
 Just before we were ready to frame in the bathroom, we realized that we really had to decide what kind of flooring we wanted to do, because head space was getting a little tight, plus we wanted the floor transition to be smooth. Our options were either tile, a shower pan, or a slatted wood platform with a hidden tray underneath to drain. We ended up deciding that we wanted to go with tile, because we liked the look of that the most and still gave us plenty of head room. More details on tile and materials later. We came to the conclusion that in order to ensure a smooth floor transition from room to room, we were going to have to take out some of the subfloor we had already put down and redo the insulation and subfloor for that area... ugh! We replaced the 1.5" foam with 1/2" foam, then 1/2" plywood so our tile would be flush with the other floor- a curbless shower!
So after we figured that out, we framed the bathroom using 2 5/8" metal track and 2x3 wood studs. Using the metal track made it easy to attach our studs to the ceiling following the curve. Using tin snips and making cuts on both side of the track allowed us bend the track. Matt has used metal track in commercial framing for years so it just made since to go this route. We used 2" self tapping screws to fasten the top track to the ribs of the bus giving it more structural integrity vs just screwing into the pine ceiling.
0 Comments
Leave a Reply. |
AuthorHey everyone! Archives
September 2018
Categories
All
|
 RSS Feed
