
|
When we started the conversion, the plan was to do everything ourselves including the paint job. This would help cut down on the total cost. The project fell behind schedule and with winter around the corner we decided to have the bus painted professionally. We did all the prep work for the painters which saved us about $2,000. The bus was extremely dirty, so the first thing we did was give her a bath. We used TSP Substitute cleaning solution and scrub brushes to clean off the heavy grime before power washing it. We used a verity of sandpaper grits during the prepping process. There were spots on the bus that had a thick build up of paint or clear coat where we used 80-120 grit. After all the clear coat and ridges were sanded down, we used 200 girt for our final sand. For flat areas like the roof and the sides of the bus, we used a hand sander. For the curves and hard to get spots, we hand sanded. This included the rub rails and the hood of the bus. 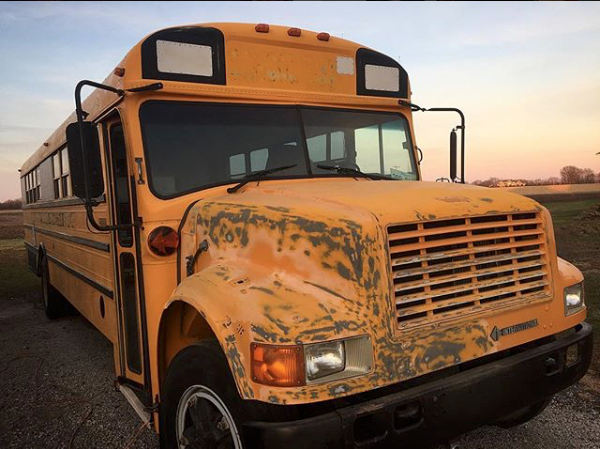 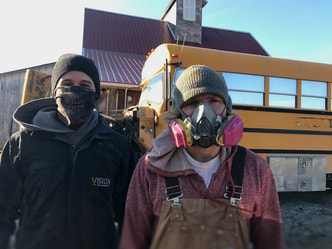 We took our bus to John's Paint and Body, which was only a few miles from the farm. They had it back to us in just under a week, and did a great job. It was dark out by the time we went to pick the bus up, so we didn't get to really see the color until the next morning. We were so excited to see that our home was no longer school bus yellow. 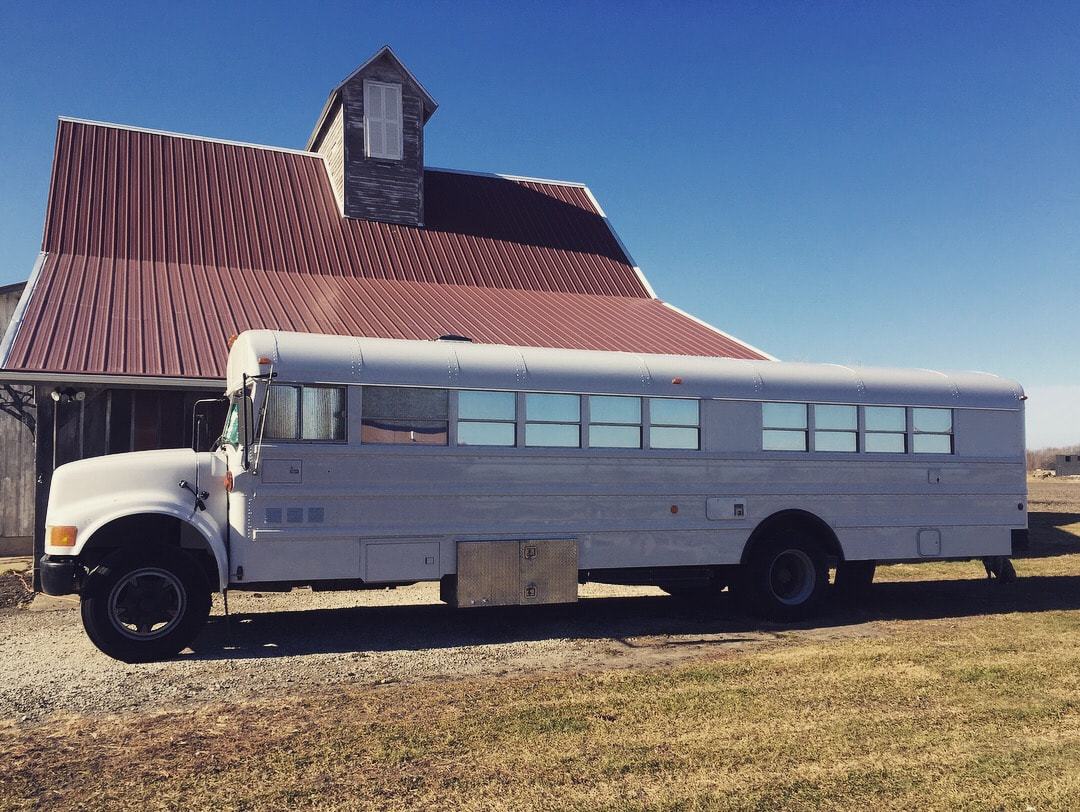 They used a single-stage paint and the color we chose was called "White Chocolate".
0 Comments
Leave a Reply. |
AuthorHey everyone! Archives
September 2018
Categories
All
|
 RSS Feed
